背景

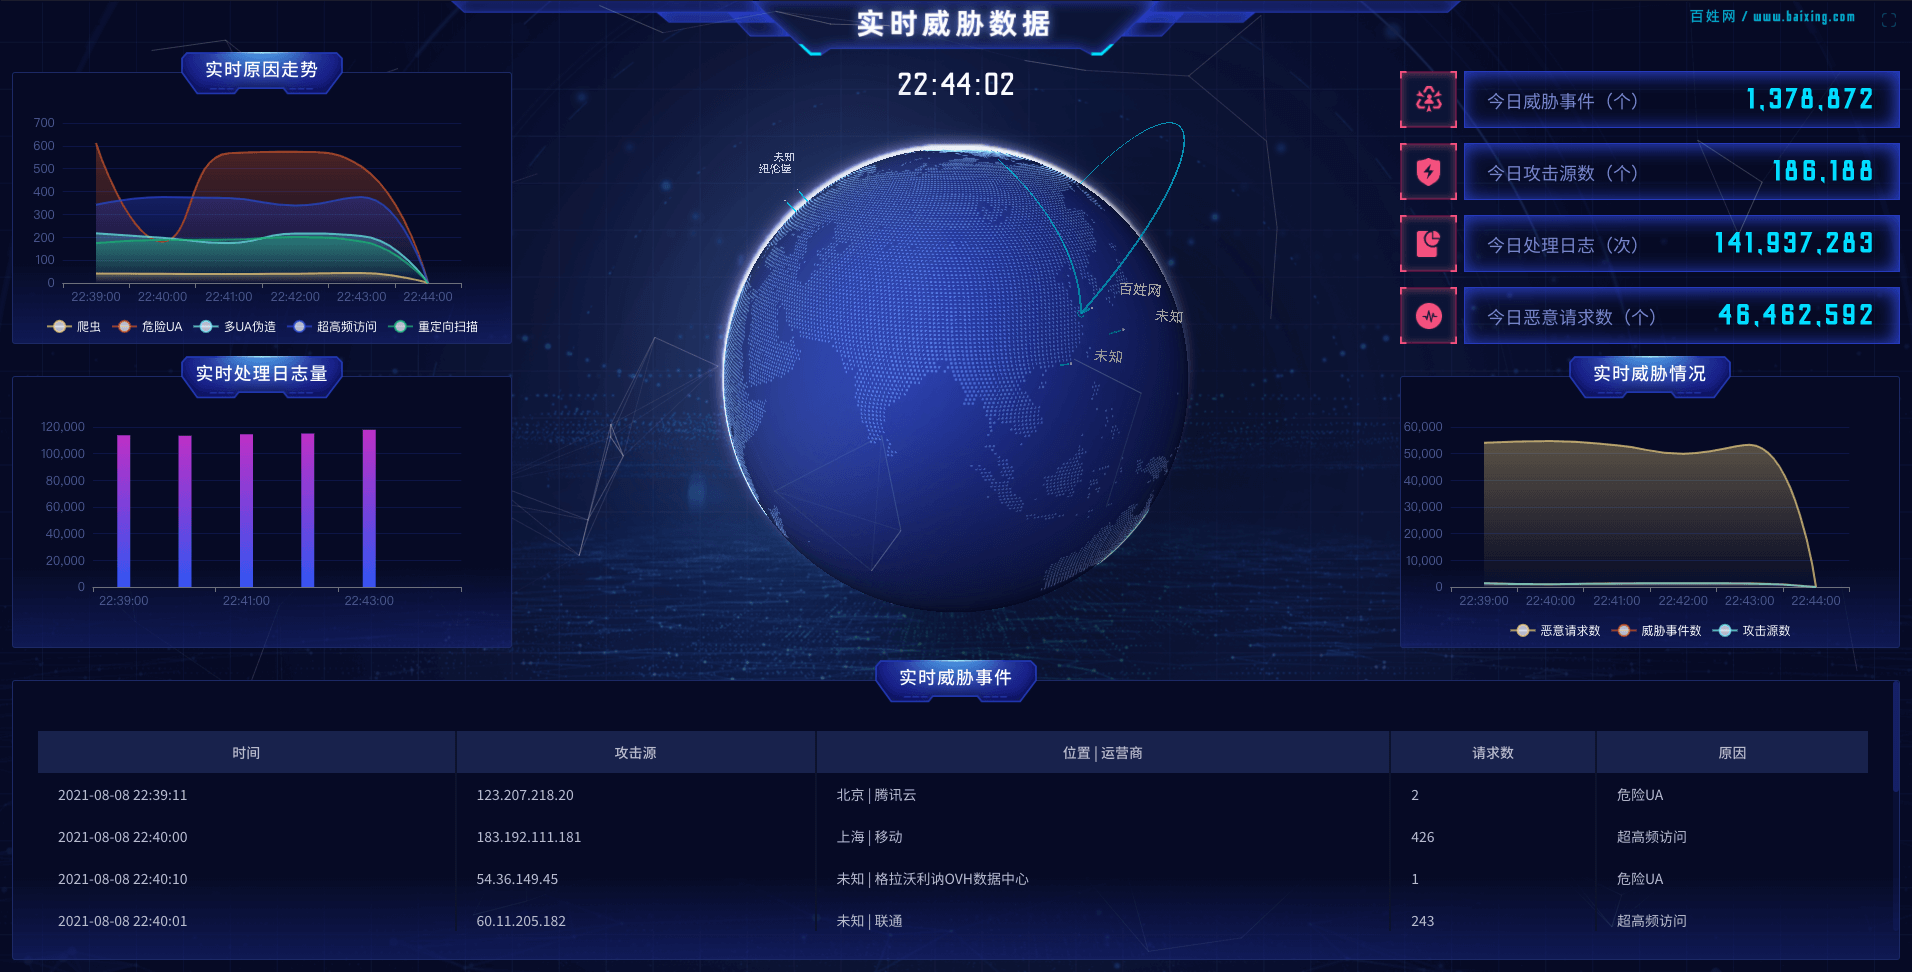
参与了一个反爬的项目,主要做的事情就是识别请求中的爬虫们,前端则需要一个数据可视化的看板。由于爬虫总是通过一些奇怪的代理打来,所以ip源分布于世界各地。
为了可以让看板酷一些,决定模仿 GitHub 首页(退出登录才能看到) 那个地球做一个类似的效果。

最终效果

此处应有 YouTube 视频 需要🪜
最终效果

用到的工具

three.jstween.jsTypeScript

🌍

其实简化一下地球本地,就是一个球体,带了世界地图的素材表面、一些发光的效果、鼠标点击转动、自动旋转。

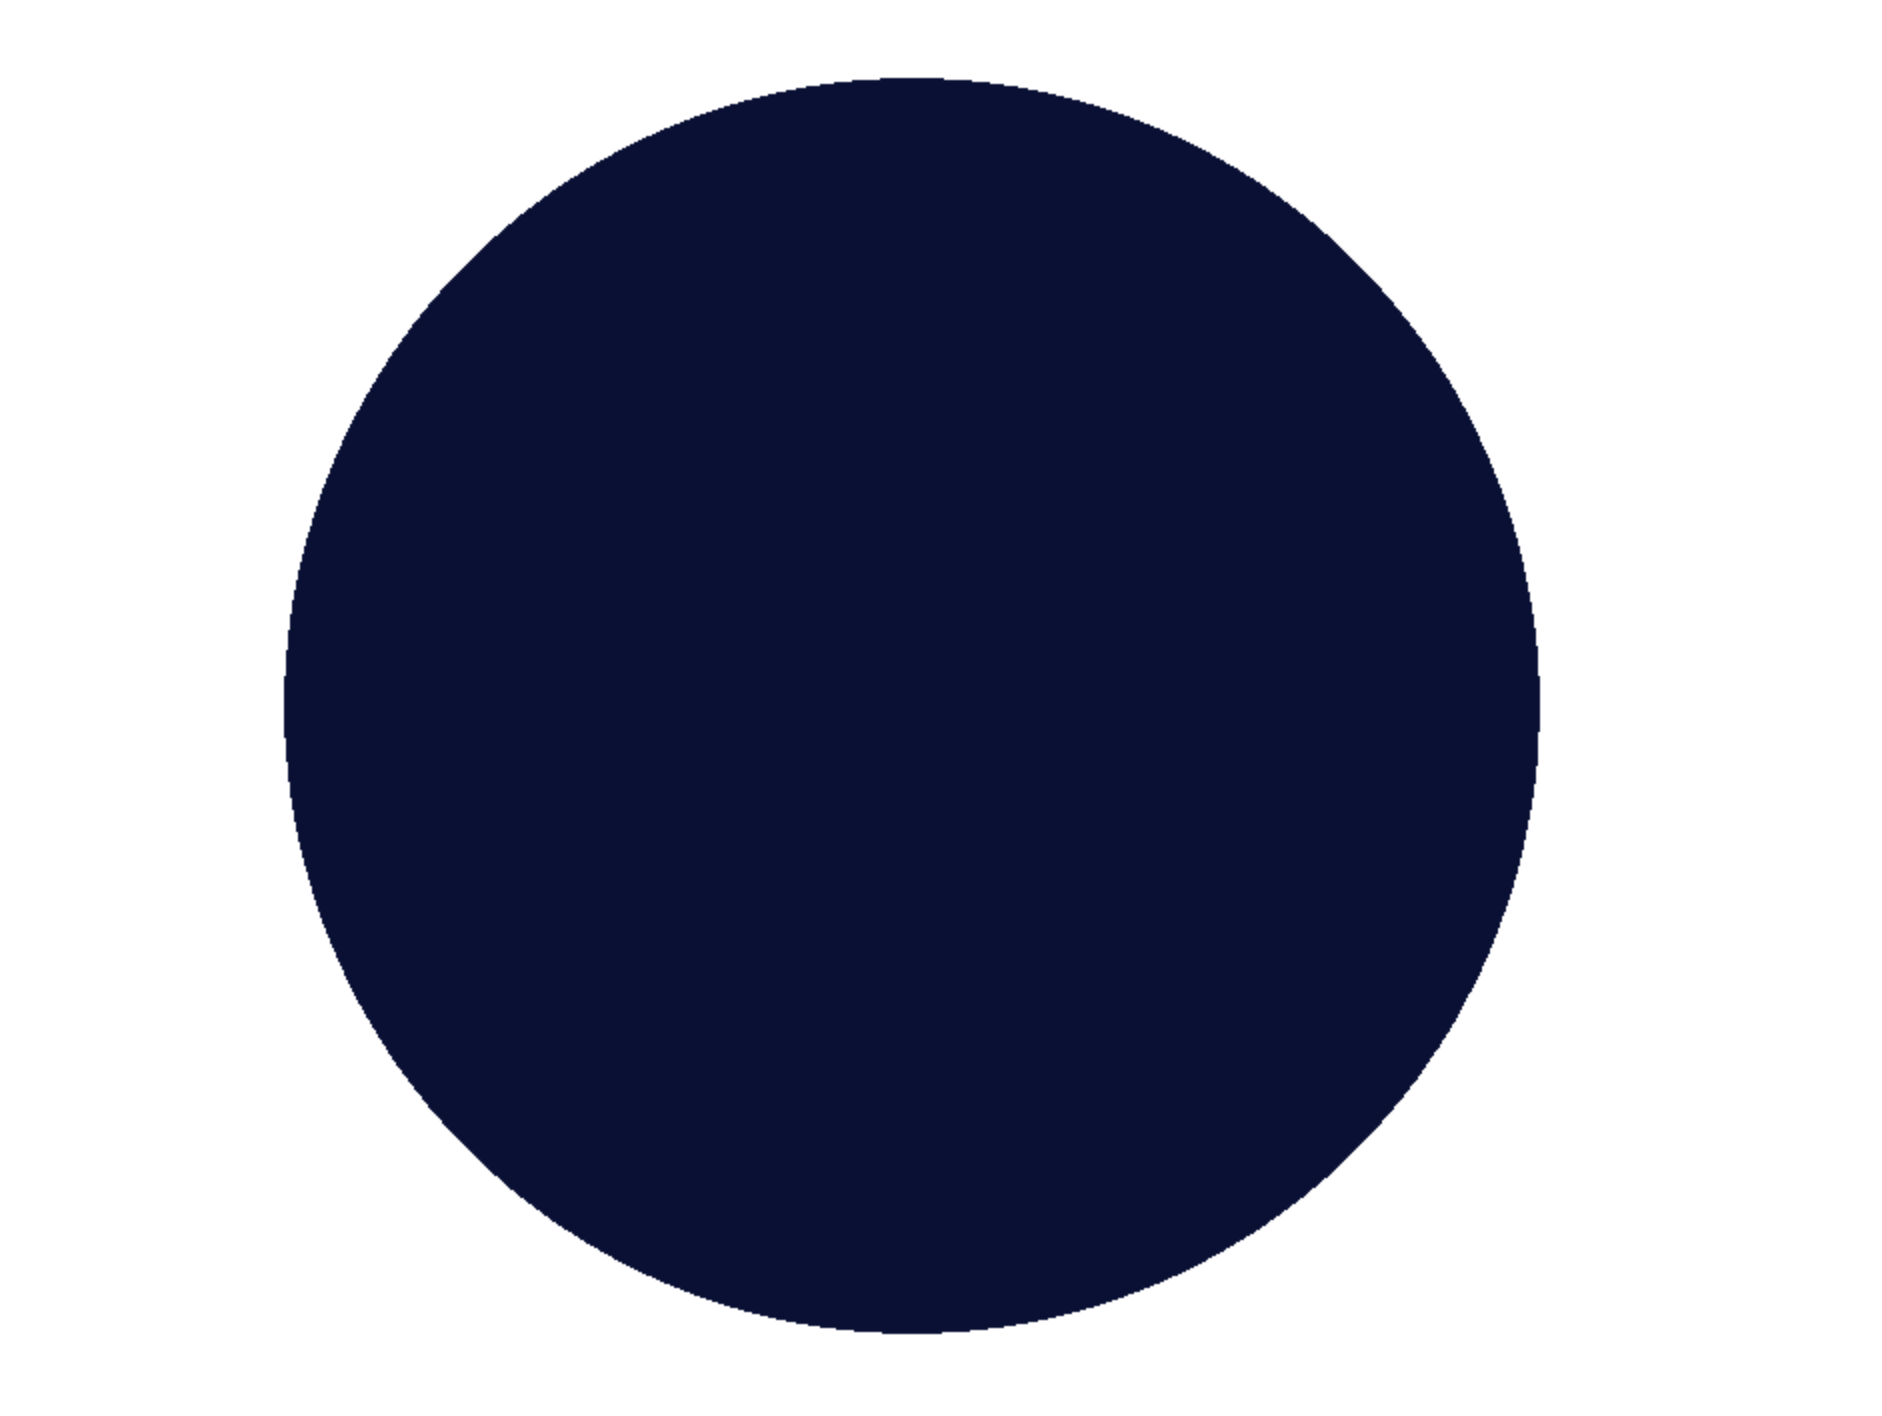
1. 绘制一个球体

Earth 是一个独立的类,在它的构建函数里传入尺寸(半径)。

Earth.ts

1
2
3
4
5
6
7
8
9
10
11
12
export default class Earth {
private earth: THREE.Mesh

constructor (radius: number) {

// 地球本体
const earthGeometry = new THREE.SphereGeometry(radius, 100, 100)
// 材质
const meshBasic = new THREE.MeshLambertMaterial({ color: EARTH_COLOR })
this.earth = new THREE.Mesh(earthGeometry, meshBasic)
}
}

App.ts (入口主文件)

1
2
3
4
5
6
7
8
9
10
11
12
13
14
15
16
17
18
19
20
21
22
23
24
25
26
27
28
29
30
31
32
33
34
35
36
37
38
39
40
41
42
43
44
45
46
47
48
49
50
51
52
53
// 基础的舞台 Class
// 配置灯光、渲染方式、鼠标操控、自动旋转等等...
export default class App {
constructor (parentDom: HTMLElement, size: number) {
// 长宽
this.containerWidth = size * 1.2
this.containerHeight = size

// wrapper
const container = document.createElement('DIV')
container.classList.add('the-earth-wrapper')
container.style.width = `${this.containerWidth}px`
container.style.height = `${this.containerHeight}px`
const mask = document.createElement('DIV')
mask.classList.add('the-earth-wrapper-mask')
mask.style.backgroundImage = `url(${flow})`
container.appendChild(mask)
parentDom.appendChild(container)

// 舞台、相机
this.scene = new Scene()
this.camera = new PerspectiveCamera(65, this.containerWidth / this.containerHeight, 1, 1500)
// 相机位置,右手坐标系,x,y,z
this.camera.position.set(-150, 100, -200)
this.camera.lookAt(new Vector3(0, 0, 0))
// 渲染器
this.renderer = new WebGLRenderer({ antialias: false, alpha: true }) // 抗锯齿
this.renderer.setClearColor(0xffffff, 0)
this.renderer.autoClear = false
this.renderer.setSize(this.containerWidth, this.containerHeight)
this.renderer.toneMappingExposure = Math.pow(1, 4.0)
container.appendChild(this.renderer.domElement)
window.addEventListener('resize', () => this.handleWindowResize())

// 光源
const spotLight = new SpotLight(0x404040, 2.5)
spotLight.target = earth
this.scene.add(spotLight)

const light = new AmbientLight(0xffffff, 0.25) // soft white light
this.scene.add(light)

// 地球
const theEarth = new Earth(100)
const earth = theEarth.getMesh()

this.earthGroup = new Group()
this.earthGroup.add(earth)

this.scene.add(this.earthGroup)
this.render()
}
}

目前大概是这个样子:
地球元素

2. 绘制世界地图

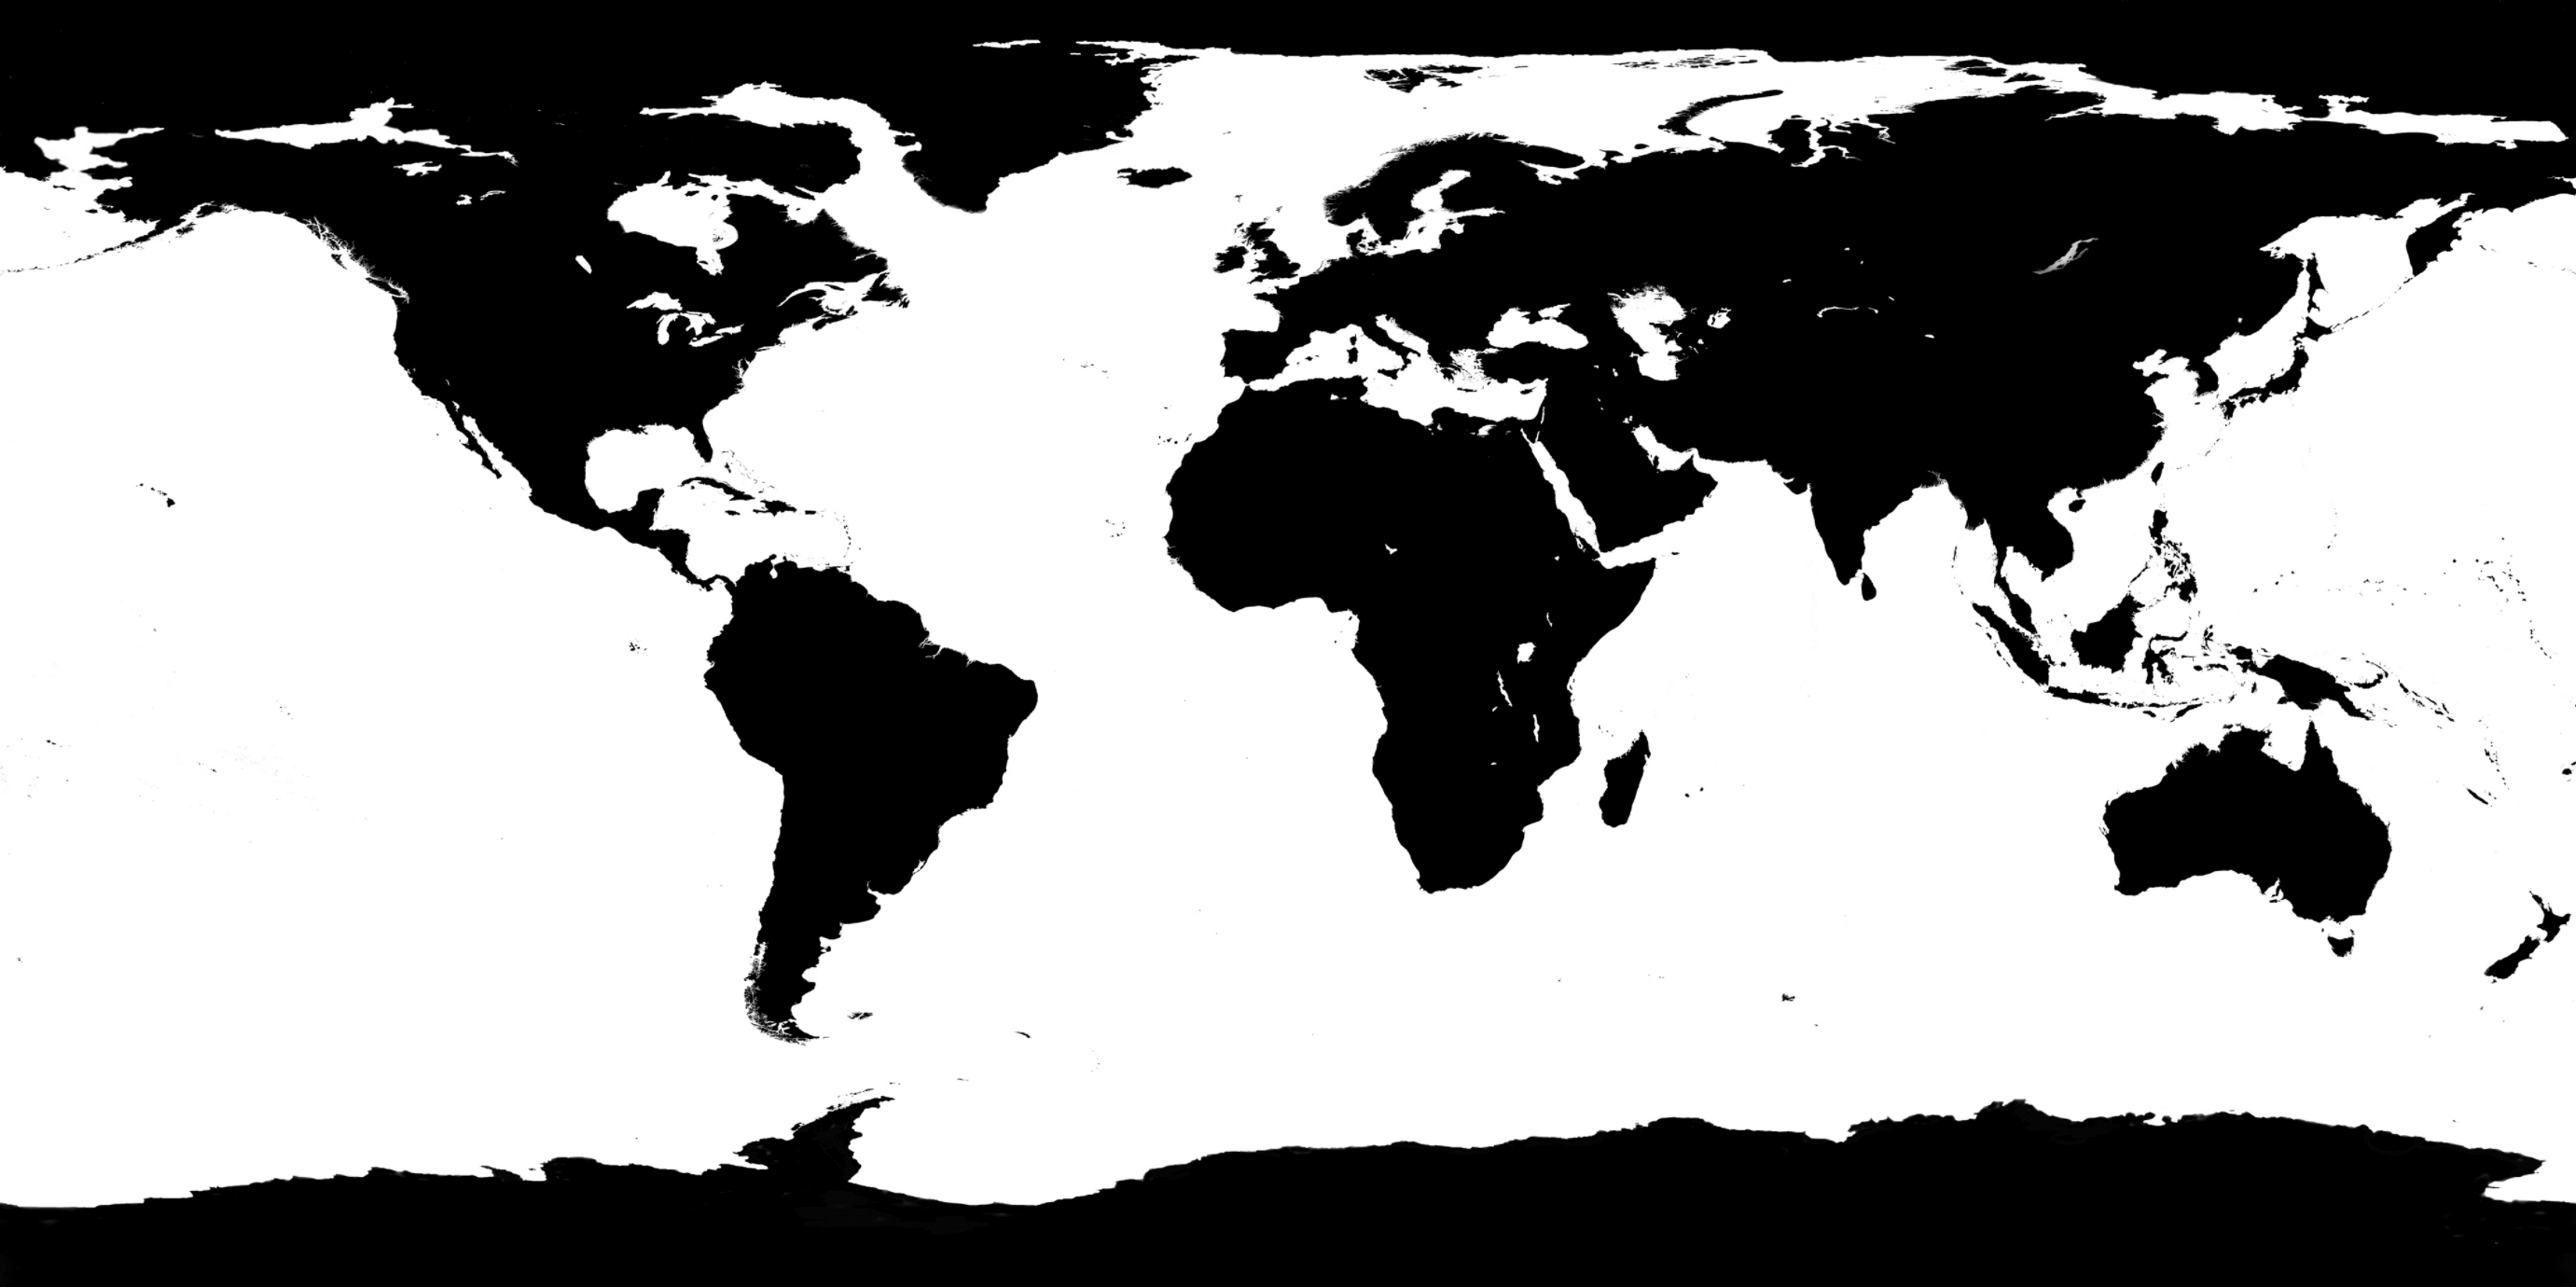
这里需要借助一下两个图片素材:

  • 完整的世界地图.png
  • 圆点.png
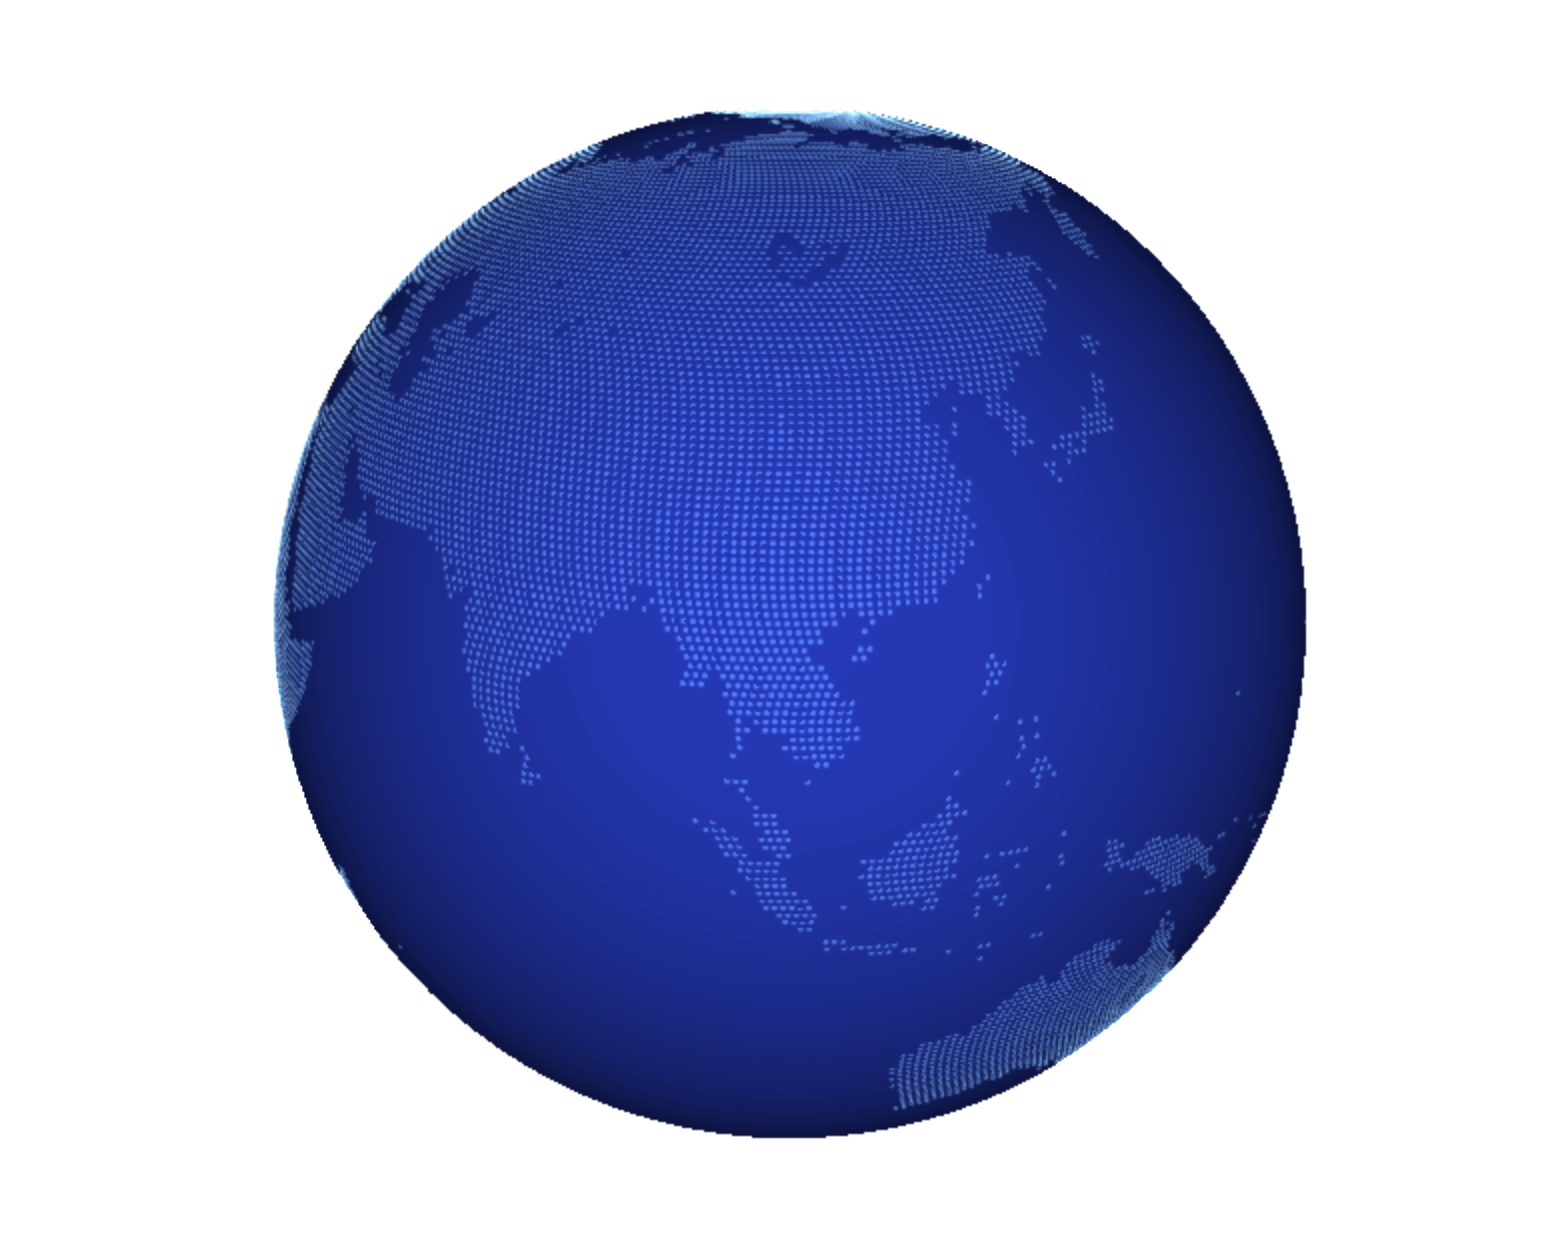
用作球形外面材质的世界地图 用圆点来绘制以上图形

Earth.ts 中添加

1
2
3
4
5
6
7
8
9
10
11
12
13
14
15
16
17
18
19
20
21
22
23
24
25
26
27
28
29
30
31
32
33
34
35
36
37
38
39
40
41
42
43
44
45
46
47
48
49
50
51
52
53
54
55
56
57
58
59
60
61
62
63
64
65
66
67
68
69
70
71
72
73
74
75
76
77
78
79
80
81
82
83
84
85
86
87
88
export default class Earth {
constructor (radius: number) {

// ... ...

this.earthParticles = new THREE.Object3D()
// 地球表面的点点
this.earthImg = document.createElement('img')
this.earthImg.src = earthBg
this.earthImg.onload = () => {
const earthCanvas = document.createElement('canvas')
const earthCtx = earthCanvas.getContext('2d')
earthCanvas.width = this.earthImg.width
earthCanvas.height = this.earthImg.height
earthCtx?.drawImage(this.earthImg, 0, 0, this.earthImg.width, this.earthImg.height)
this.earthImgData = earthCtx?.getImageData(0, 0, this.earthImg.width, this.earthImg.height)
this.createEarthParticles()
}
}

// 简单来说就是读取世界地图后,
// 把有像素的地方换成圆点的图形来填充,
// 并上色
private createEarthParticles () {
const positions: any = []
const sizes: any = []
for (let i = 0; i < 2; i++) {
positions[i] = {
positions: []
}
sizes[i] = {
sizes: []
}
}
const material = new THREE.PointsMaterial()
material.size = 2.5
material.color = new THREE.Color(EARTH_PARTICLE_COLOR)
material.map = new THREE.TextureLoader().load(dotImg)
material.depthWrite = false
material.transparent = true
material.opacity = 0.3
material.side = THREE.FrontSide
material.blending = THREE.AdditiveBlending
const spherical = new THREE.Spherical()
spherical.radius = 100
const step = 250
for (let i = 0; i < step; i++) {
const vec = new THREE.Vector3()
const radians = step * (1 - Math.sin(i / step * Math.PI)) / step + 0.5 // 每个纬线圈内的角度均分
for (let j = 0; j < step; j += radians) {
const c = j / step // 底图上的横向百分比
const f = i / step // 底图上的纵向百分比
const index = Math.floor(2 * Math.random())
const pos = positions[index]
const size = sizes[index]
if (isLandByUV(c, f, { earthImgData: this.earthImgData, width: this.earthImg.width, height: this.earthImg.height })) { // 根据横纵百分比判断在底图中的像素值
spherical.theta = c * Math.PI * 2 - Math.PI / 2 // 横纵百分比转换为theta和phi夹角
spherical.phi = f * Math.PI // 横纵百分比转换为theta和phi夹角
vec.setFromSpherical(spherical) // 夹角转换为世界坐标
pos.positions.push(vec.x)
pos.positions.push(vec.y)
pos.positions.push(vec.z)
if (j % 3 === 0) {
size.sizes.push(6.0)
}
}
}
}
for (let i = 0; i < positions.length; i++) {
const pos = positions[i]
const size = sizes[i]
const bufferGeom = new THREE.BufferGeometry()
const typedArr1 = new Float32Array(pos.positions.length)
const typedArr2 = new Float32Array(size.sizes.length)
for (let j = 0; j < pos.positions.length; j++) {
typedArr1[j] = pos.positions[j]
}
for (let j = 0; j < size.sizes.length; j++) {
typedArr2[j] = size.sizes[j]
}
bufferGeom.setAttribute('position', new THREE.BufferAttribute(typedArr1, 3))
bufferGeom.setAttribute('size', new THREE.BufferAttribute(typedArr2, 1))
bufferGeom.computeBoundingSphere()
const particle = new THREE.Points(bufferGeom, material)
this.earthParticles.add(particle)
}
}
}

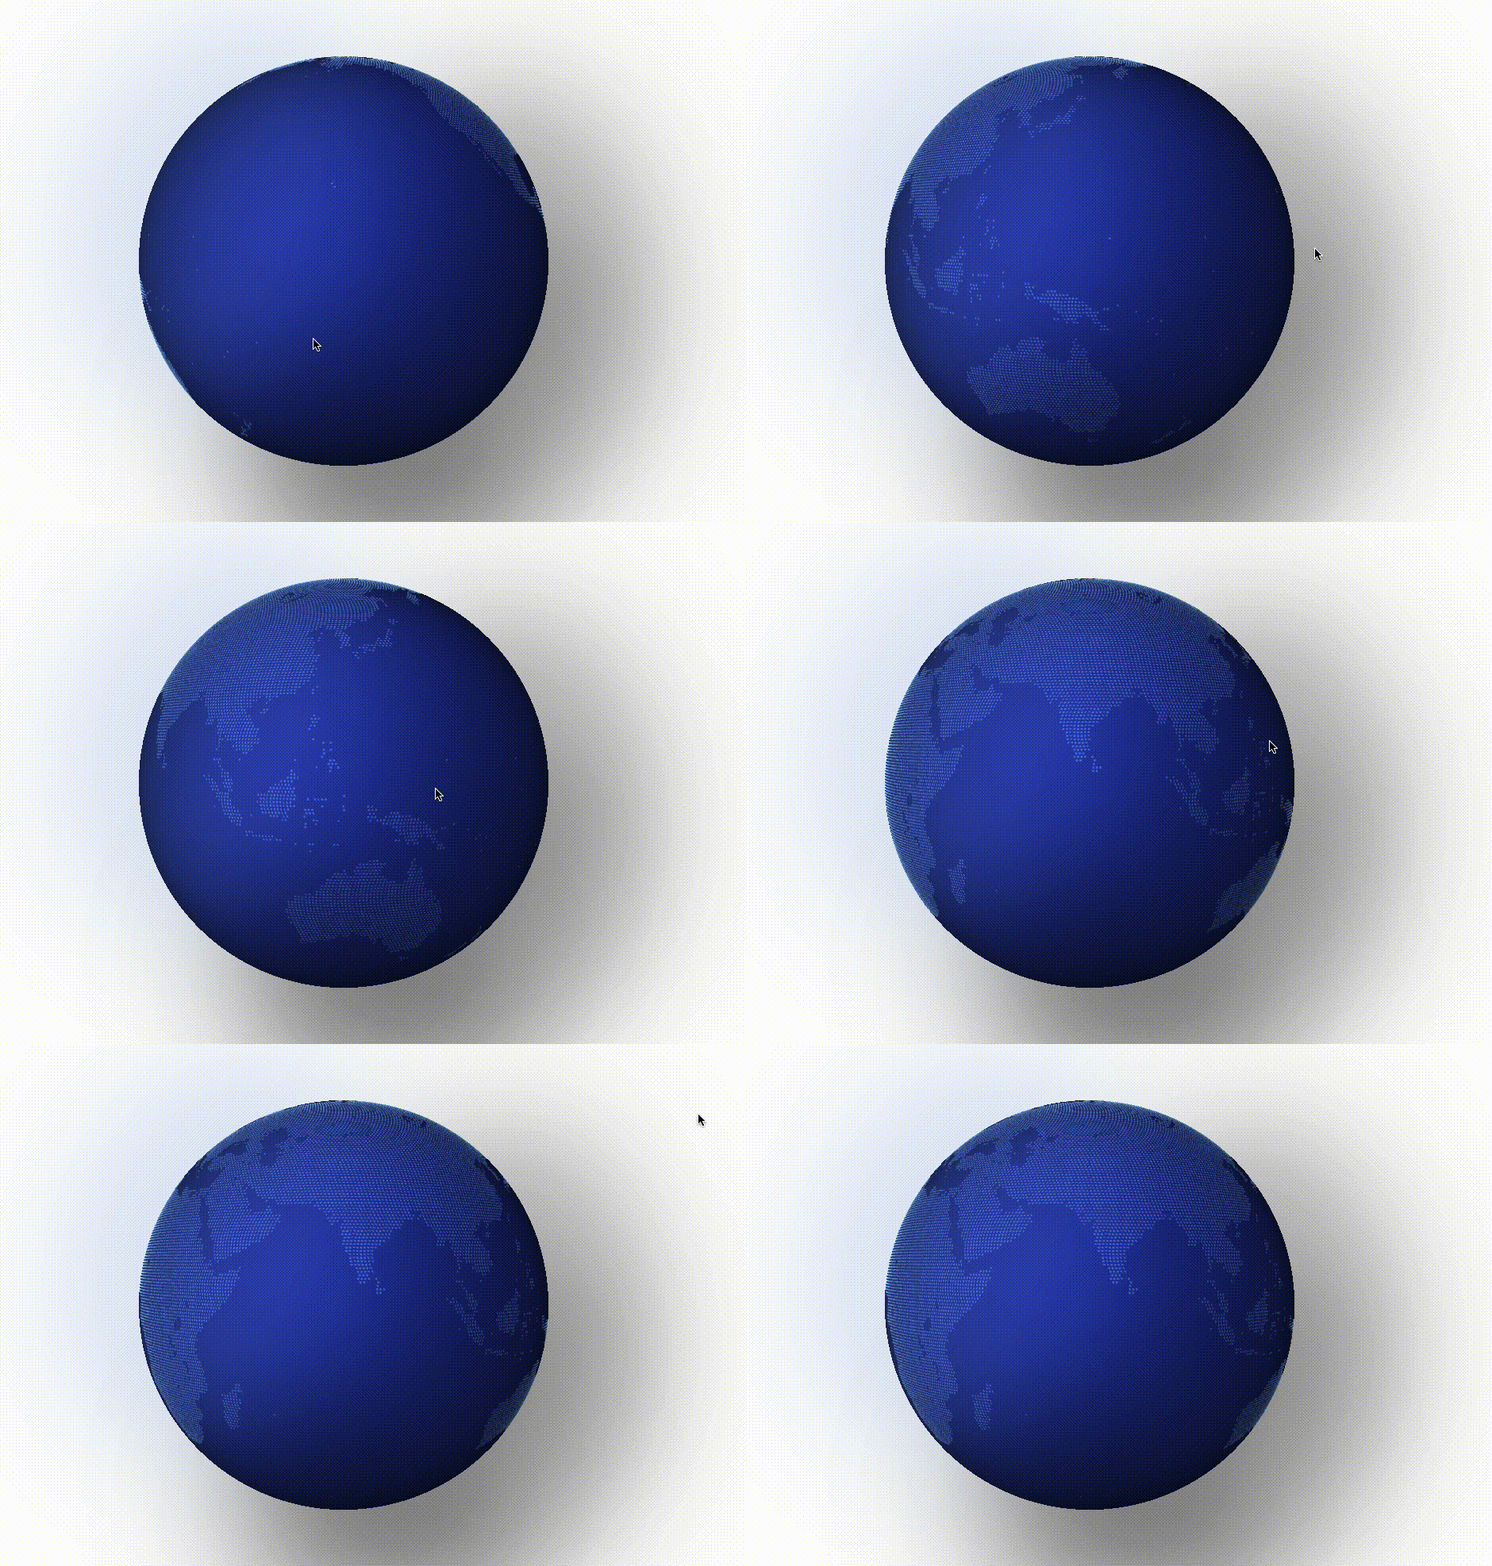
效果:
绘制世界地图

3. 加入鼠标控制,拖动可以旋转地球

App.ts 中添加

1
2
3
4
5
6
7
8
9
10
11
12
13
14
15
16
17
18
19
20
21
22
23
24
25
26
27
28
29
class {
private controls: OrbitControls
}

constructor (parentDom: HTMLElement, size: number) {
// 轨迹,鼠标控制
this.controls = new OrbitControls(this.camera, this.renderer.domElement)
this.controls.enableZoom = false
this.controls.minDistance = 320
this.controls.maxDistance = 320
this.controls.maxPolarAngle = 1.5
this.controls.minPolarAngle = 1
this.controls.enablePan = false
this.controls.enableDamping = true
this.controls.dampingFactor = 0.05
this.controls.rotateSpeed = 0.5
this.controls.addEventListener('change', () => {
spotLight.position.copy(this.camera.position)
earthGlow.lookAt(new Vector3(this.camera.position.x - 25, this.camera.position.y - 50, this.camera.position.z + 20))
})
}

// render 中添加 this.controls.update() 才会生效,并让旋转变得很丝滑
render () {
this.controls.update()

// 这是让地球进行自动旋转
this.earthGroup.rotation.y += 0.0003
}

效果:
鼠标控制地球旋转

📍

4. 加入城市坐标

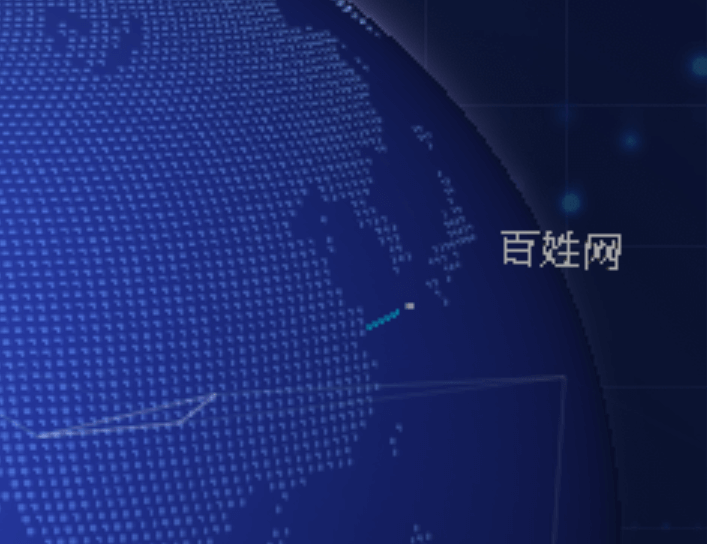
城市坐标,一个小杆子升起,顶部有个小方块。
用来标记城市的位置,传参只需两个,一个是坐标经纬度,一个是城市名称。
唯一麻烦的在于将经纬度转到场景中对应的位置。

City.ts

1
2
3
4
5
6
7
8
9
10
11
12
13
14
15
16
17
18
19
20
21
22
23
24
25
26
27
28
29
30
31
32
33
34
35
36
37
38
39
40
41
42
43
44
45
46
47
48
49
50
51
52
53
54
55
56
57
58
59
60
61
62
63
64
65
66
67
68
69
70
71
72
73
74
75
76
77
78
79
80
81
82
83
84
85
86
87
88
89
90
91
92
93
94
95
96
97
98
99
100
101
102
103
104
105
106
107
108
109
110
111
112
113
114
115
116
117
118
119
120
121
122
123
124
125
126
import * as THREE from 'three'
import * as TWEEN from '@tweenjs/tween.js'

const CITY_COLOR = 0x00DDFF

export default class City {
private position: THREE.Vector3
private cityGroup: THREE.Group
private name: string
private font: THREE.Font
private cityName?: THREE.Mesh

constructor ([lng, lat]: number[], name: string, font: THREE.Font) {
this.cityGroup = new THREE.Group()

const position = this.createPosition([lng, lat])
this.position = position
this.name = name
this.font = font
this.createBox(position)
}

private createBox (position: THREE.Vector3) {
const geometry = new THREE.BoxGeometry(0.5, 0.5, 10)
const material = new THREE.MeshBasicMaterial({
color: CITY_COLOR,
side: THREE.DoubleSide,
opacity: 0.5,
transparent: true
})
const box = new THREE.Mesh(geometry, material)
box.position.copy(position)
box.lookAt(new THREE.Vector3(0, 0, 0))
this.cityGroup.add(box)
// 顶部
const geometryTop = new THREE.BoxGeometry(0.6, 0.6, 0.6)
const materialTop = new THREE.MeshBasicMaterial({
color: 0xffffff,
side: THREE.DoubleSide,
opacity: 0.5,
transparent: true
})
const boxTop = new THREE.Mesh(geometryTop, materialTop)
boxTop.lookAt(new THREE.Vector3(0, 0, 0))

// 底部升起
const boxDepth = { value: 0.95 }
const tweenRise = new TWEEN.Tween(boxDepth).to({ value: 1 }, 3000)
tweenRise.onUpdate(function () {
box.position.set(position.x * boxDepth.value, position.y * boxDepth.value, position.z * boxDepth.value)
})
tweenRise.start()

// 顶部上下浮动
const scale = { value: 1.06 }
const tween = new TWEEN.Tween(scale).to({ value: 1.07 }, 2000)
const tweenBack = new TWEEN.Tween(scale).to({ value: 1.06 }, 2000)
tween.onUpdate(function () {
boxTop.position.set(position.x * scale.value, position.y * scale.value, position.z * scale.value)
})
tweenBack.onUpdate(function () {
boxTop.position.set(position.x * scale.value, position.y * scale.value, position.z * scale.value)
})
tween.chain(tweenBack)
tweenBack.chain(tween)
tween.delay(3000).start()
this.cityGroup.add(boxTop)

// 城市名字
this.createCityName(this.name, position)
}

private async createCityName (name: string, position: THREE.Vector3) {
const cityNameGeometry = new THREE.TextGeometry(name, {
font: this.font,
size: 3,
height: 1,
});
cityNameGeometry.computeBoundingBox ()
const cityNameMesh = new THREE.MeshLambertMaterial({
color: 0xffffff,
})
const cityName = new THREE.Mesh(cityNameGeometry, cityNameMesh)
cityName.position.set(position.x - 5, position.y - 5, position.z - 5)
// 出现
const opacity = { value: 0 }
const tween = new TWEEN.Tween(opacity).to({ value: 1.2 }, 1000)
tween.onUpdate(function () {
cityName.position.set(position.x * opacity.value, position.y * opacity.value, position.z * opacity.value)
})
tween.start()

this.cityGroup.add(cityName)
this.cityName = cityName
}

private createPosition (lnglat: number[]) {
const spherical = new THREE.Spherical()
spherical.radius = 100
const lng = lnglat[0]
const lat = lnglat[1]
const theta = (lng + 90) * (Math.PI / 180)
const phi = (90 - lat) * (Math.PI / 180)
spherical.phi = phi
spherical.theta = theta
const position = new THREE.Vector3()
position.setFromSpherical(spherical)
return position
}

getMesh () {
return this.cityGroup
}

getPosition () {
return this.position
}

updateCityNameDirection (position: THREE.Vector3) {
this.cityName?.lookAt(position)
}

destroy () {
this.cityGroup.clear()
}
}
城市坐标

💫

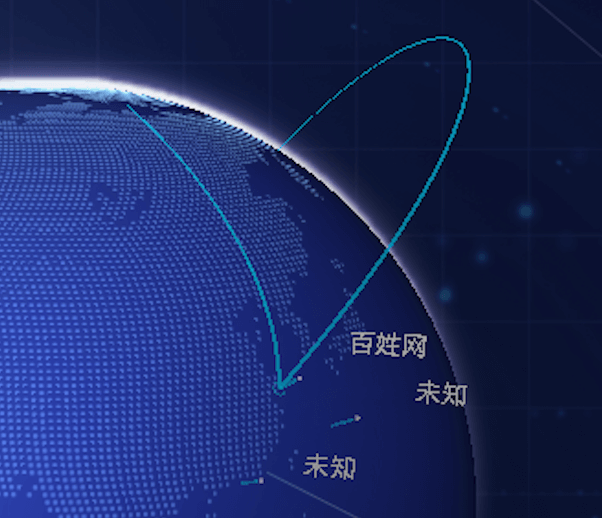
5. 创建从一个坐标到另一个左边连接的贝塞尔曲线

传参即为两个城市(坐标),然后实现动画从坐标1到坐标2。
麻烦的点就是调试曲线弧度,好在Three.js有很多现有接口。
由于实际请求非常多,

Link.ts

1
2
3
4
5
6
7
8
9
10
11
12
13
14
15
16
17
18
19
20
21
22
23
24
25
26
27
28
29
30
31
32
33
34
35
36
37
38
39
40
41
42
43
44
45
46
47
48
49
50
51
52
53
54
55
56
57
58
59
60
61
62
63
64
65
66
67
68
69
70
71
72
73
74
75
76
77
78
79
80
81
82
83
84
85
86
87
88
89
90
91
92
93
94
95
96
97
98
99
100
101
102
103
104
105
106
107
108
109
110
111
112
113
114
115
116
117
118
119
120
121
122
import * as THREE from 'three'
// @ts-ignore
import { MeshLine, MeshLineMaterial } from '../lib/meshLine'
import * as TWEEN from '@tweenjs/tween.js'
import City from './City'

const LINK_COLOR = 0x00DDFF

export default class Link {
private city1: City
private city2: City
private linkGroup: THREE.Group

constructor (city1: City, city2: City) {
this.city1 = city1
this.city2 = city2
this.linkGroup = new THREE.Group()

this.drawLine()
this.drawRing()
}

drawLine = () => {
const v0 = this.city1.getPosition()
const v3 = this.city2.getPosition()

let curve
const angle = v0.angleTo(v3)
if (angle > 1) {
const { v1, v2 } = getBezierPoint(v0, v3)
curve = new THREE.CubicBezierCurve3(v0, v1, v2, v3) // 三维三次贝赛尔曲线
} else {
const p0 = new THREE.Vector3(0, 0, 0) // 法线向量
const rayLine = new THREE.Ray(p0, getVCenter(v0.clone(), v3.clone())) // 顶点坐标
const vtop = rayLine.at(1.3, new THREE.Vector3()) // 位置
curve = new THREE.QuadraticBezierCurve3(v0, vtop, v3) // 三维二次贝赛尔曲线
}

const curvePoints = curve.getPoints(100)
const material = new MeshLineMaterial({
color: LINK_COLOR,
opacity: 0.7,
transparent: true
})
const lineLength = { value: 0 }
const line = new MeshLine()
const drawLineTween = new TWEEN.Tween(lineLength).to({ value: 100 }, 3000)
drawLineTween.onUpdate(function () {
line.setPoints(curvePoints.slice(0, lineLength.value + 1), (p: number) => 0.2 + p / 2)
})
const eraseLineTween = new TWEEN.Tween(lineLength).to({ value: 0 }, 3000)
eraseLineTween.onUpdate(function () {
line.setPoints(curvePoints.slice(curvePoints.length - lineLength.value, curvePoints.length), (p: number) => 0.2 + p / 2)
})

drawLineTween.start()
setTimeout(() => eraseLineTween.start(), 6000)

const mesh = new THREE.Mesh(line, material)
this.linkGroup.add(mesh)
}

drawRing () {
// 扩
const outter = new THREE.RingGeometry(1, 1.3, 15)
const materialOutter = new THREE.MeshBasicMaterial({
color: LINK_COLOR,
side: THREE.DoubleSide,
opacity: 0,
transparent: true
})
const ringOutter = new THREE.Mesh(outter, materialOutter)
ringOutter.position.copy(this.city2.getPosition())
ringOutter.lookAt(new THREE.Vector3(0, 0, 0))
const ringScale = { value: 1 }
const drawRingTween = new TWEEN.Tween(ringScale).to({ value: 1.1 }, 200)
drawRingTween.onUpdate(function () {
materialOutter.opacity = 0.5
ringOutter.scale.set(ringScale.value, ringScale.value, ringScale.value)
})
const drawRingTweenBack = new TWEEN.Tween(ringScale).to({ value: 1 }, 1000)
drawRingTweenBack.onUpdate(function () {
materialOutter.opacity = ringScale.value - 1
})
drawRingTween.easing(TWEEN.Easing.Circular.Out).delay(3000).chain(drawRingTweenBack.easing(TWEEN.Easing.Circular.In)).start()
this.linkGroup.add(ringOutter)
}

getMesh () {
return this.linkGroup
}

destroy () {
this.linkGroup.clear()
}
}

function getBezierPoint (v0: THREE.Vector3, v3: THREE.Vector3) {
const angle = (v0.angleTo(v3) * 180) / Math.PI // 0 ~ Math.PI // 计算向量夹角
const aLen = angle
const p0 = new THREE.Vector3(0, 0, 0) // 法线向量
const rayLine = new THREE.Ray(p0, getVCenter(v0.clone(), v3.clone())) // 顶点坐标
const vtop = new THREE.Vector3(0, 0, 0) // 法线向量
rayLine.at(100, vtop) // 位置
// 控制点坐标
const v1 = getLenVcetor(v0.clone(), vtop, aLen)
const v2 = getLenVcetor(v3.clone(), vtop, aLen)
return {
v1: v1,
v2: v2
}
}

function getVCenter (v1: THREE.Vector3, v2: THREE.Vector3) {
const v = v1.add(v2)
return v.divideScalar(2)
}

function getLenVcetor (v1: THREE.Vector3, v2: THREE.Vector3, len: number) {
const v1v2Len = v1.distanceTo(v2)
return v1.lerp(v2, len / v1v2Len)
}
连线

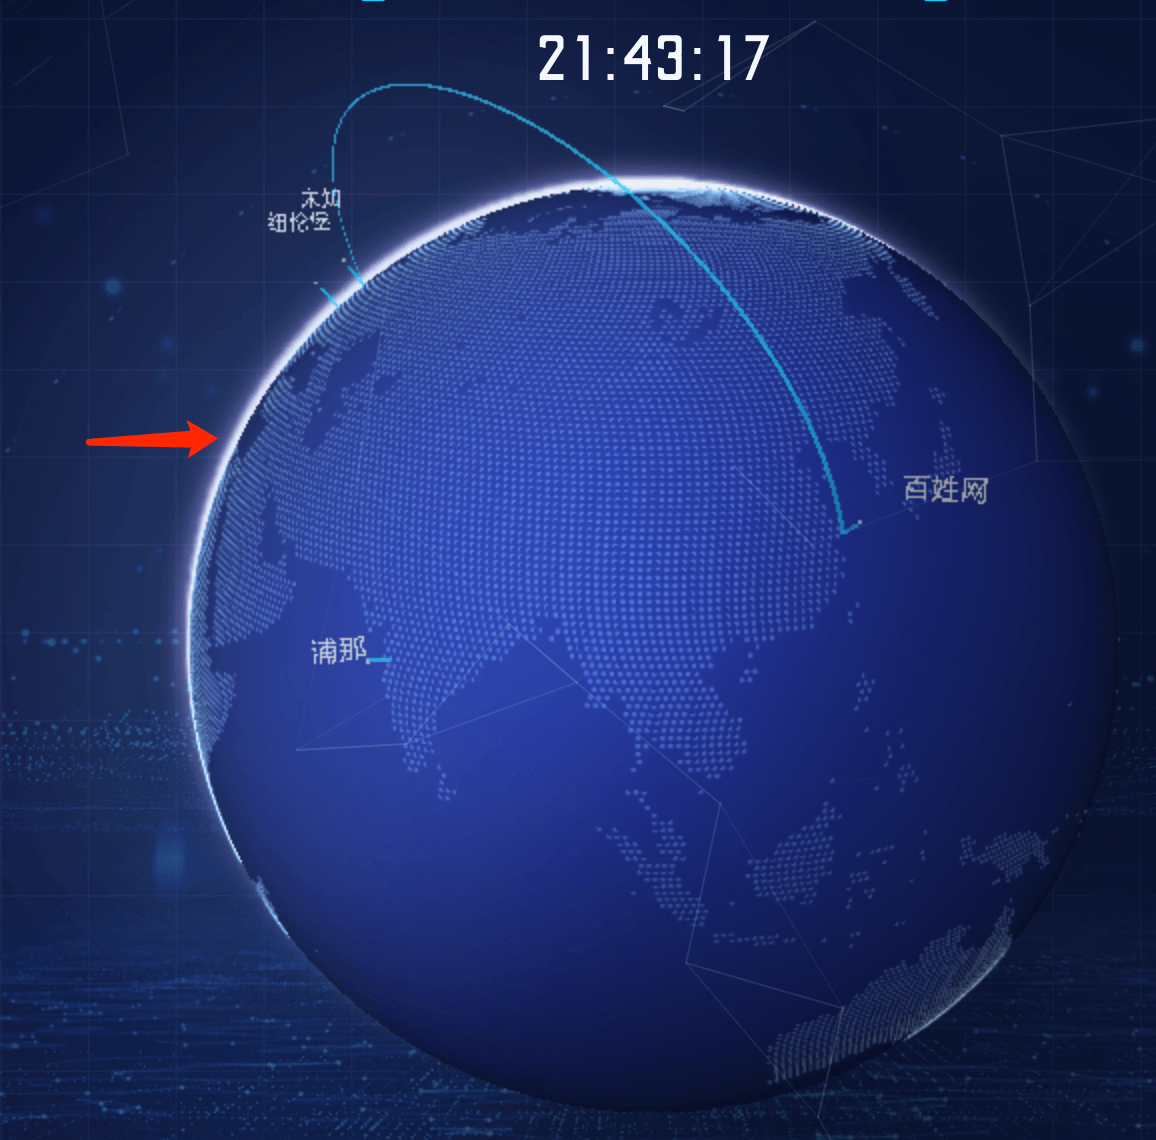
加一点光晕 🪐

Earth.ts 中添加

1
2
3
4
5
6
7
8
9
10
11
12
// 地球光晕
const geometry = new THREE.CircleGeometry(radius + 1.5, radius)
const material = new THREE.MeshBasicMaterial({ color: 0xd7fcf6, side: THREE.DoubleSide })
const material2 = new THREE.MeshBasicMaterial({ color: 0xd1bdff, side: THREE.DoubleSide })
const circle = new THREE.Mesh(geometry, material)
const circle2 = new THREE.Mesh(geometry, material2)
const glowGrop = new THREE.Group()
circle.layers.set(1)
circle2.layers.set(1)
glowGrop.add(circle)
glowGrop.add(circle2)
this.earthGlow = glowGrop
地球光晕

End.

到这基本上就完成了,由于反爬监控请求量巨大,全都显示风扇会起飞,所以要节流一下,最后其实也只显示了很少一部分,看个热闹。